Optimal Bloodborne Boss Sequence Revealed
*Bloodborne* is renowned for its challenging bosses, and figuring out the optimal sequence to tackle them can significantly enhance your gaming experience. This guide will outline the ideal boss order for *Bloodborne*, detailing where and when to face each formidable foe.
Table of Contents
- The Best Boss Order for Bloodborne
- Best Boss Order for Non-Optional Bosses in Bloodborne
- Best Boss Order for All Bosses in Bloodborne
- Our Best Boss Order, Explained
- Cleric Beast (Optional)
- Father Gascoigne
- Blood-Starved Beast (Optional)
- Vicar Amelia
- The Witch of Hemwick (Optional)
- Shadow of Yharnam
- Rom, the Vacuous Spider
- Darkbeast Paarl (Optional)
- The One Reborn
- Martyr Logarius (Optional)
- Amygdala (Optional)
- Celestial Emissary (Optional)
- Micolash, Host of the Nightmare
- The Old Hunters Bosses
- Ebrietas, Daughter of the Cosmos (Optional)
- Mergo’s Wet Nurse
- Gehrman, the First Hunter
- Moon Presence (Ending Specific)
The Best Boss Order for Bloodborne
There are multiple ways to approach the boss order in *Bloodborne*, as not all bosses are mandatory to complete the game. However, defeating all bosses can yield substantial rewards, so we encourage you to face as many as possible during your playthrough. Below, you'll find the recommended order for both non-optional and all bosses, followed by a detailed breakdown of each encounter.
In total, *Bloodborne* features 17 regular bosses and 5 additional bosses from the *The Old Hunters* DLC. This guide excludes the Chalice Dungeon bosses. While the DLC can be started after defeating Vicar Amelia, it's generally advised to tackle it near the game's end. Some players choose to engage with the DLC before facing Mergo’s Wet Nurse, while others prefer to do so afterward, which can influence certain dialogues.
Best Boss Order for Non-Optional Bosses in Bloodborne
Here is the recommended sequence for the non-optional bosses in *Bloodborne*:
- Father Gascoigne
- Vicar Amelia
- Shadow of Yharnam
- Rom, the Vacuous Spider
- The One Reborn
- Micolash, Host of the Nightmare
- Mergo’s Wet Nurse
- Gehrman, the First Hunter
- Moon Presence (Ending Specific)
Best Boss Order for All Bosses in Bloodborne
For those aiming to conquer every boss in *Bloodborne*, here's the suggested order:
- Cleric Beast (Optional)
- Father Gascoigne
- Blood-Starved Beast (Optional)
- Vicar Amelia
- The Witch of Hemwick (Optional)
- Shadow of Yharnam
- Rom, the Vacuous Spider
- Darkbeast Paarl (Optional)
- The One Reborn
- Martyr Logarius (Optional)
- Amygdala (Optional)
- Celestial Emissary (Optional)
- Micolash, Host of the Nightmare
- Ludwig the Accursed/Holy Blade (DLC/Optional)
- Laurence, the First Vicar (DLC/Optional)
- Living Failures (DLC/Optional)
- Lady Maria of the Astral Clocktower (DLC/Optional)
- Orphan of Kos (DLC/Optional)
- Ebrietas, Daughter of the Cosmos (Optional)
- Mergo’s Wet Nurse
- Gehrman, the First Hunter
- Moon Presence (Ending Specific)
Our Best Boss Order, Explained
Cleric Beast (Optional)
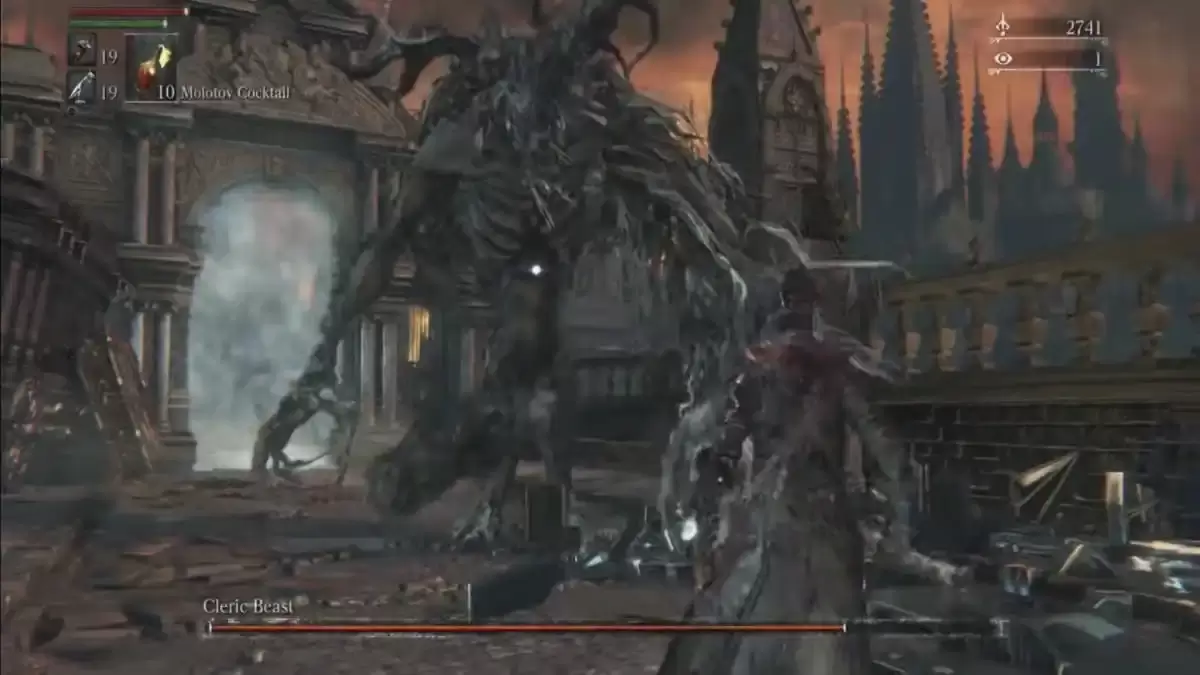 Image via FromSoftware
Area: Central Yharnam
The Cleric Beast is one of the first bosses you'll encounter in *Bloodborne*, located in Central Yharnam. Known for its speed and aggression, it can inflict significant damage if not handled carefully. The strategy is to stay behind the beast and target its hind legs to cause it to stumble, then attack its head for maximum damage.
Father Gascoigne
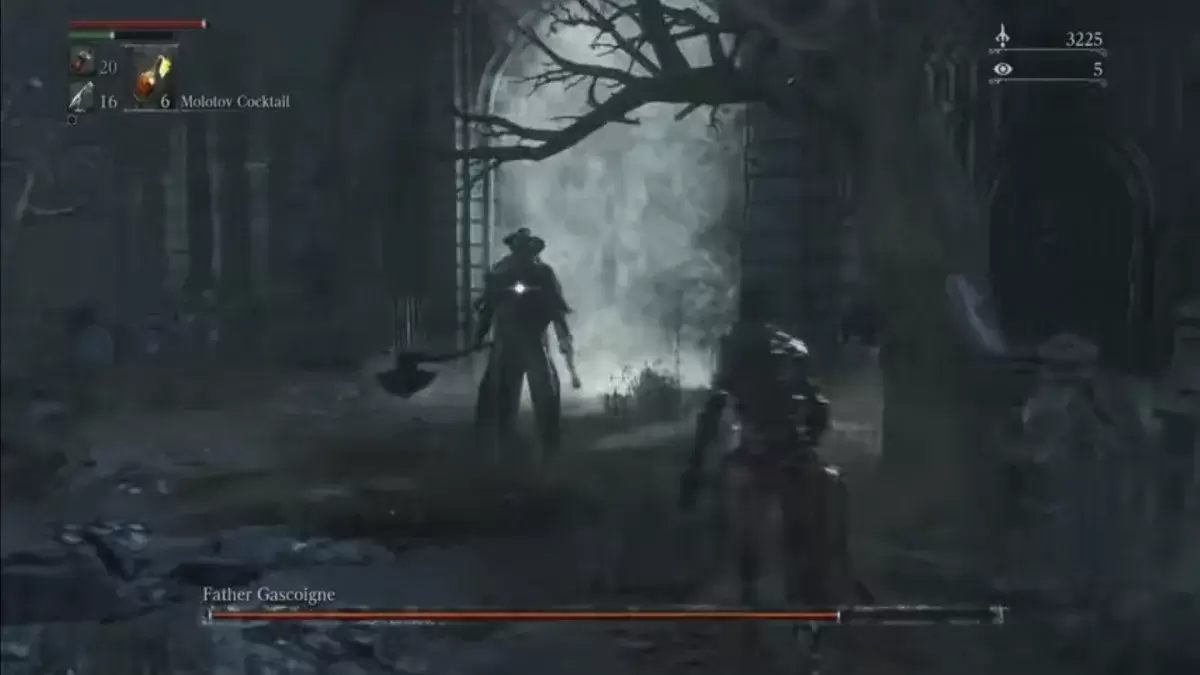 Image via FromSoftware
Area: Central Yharnam
Father Gascoigne presents a significant challenge as a crazed hunter in Central Yharnam. His swift movements and frequent use of firearms can be daunting. Mastering parry timing is key to quickly defeating him, allowing you to exploit his vulnerabilities effectively.
Blood-Starved Beast (Optional)
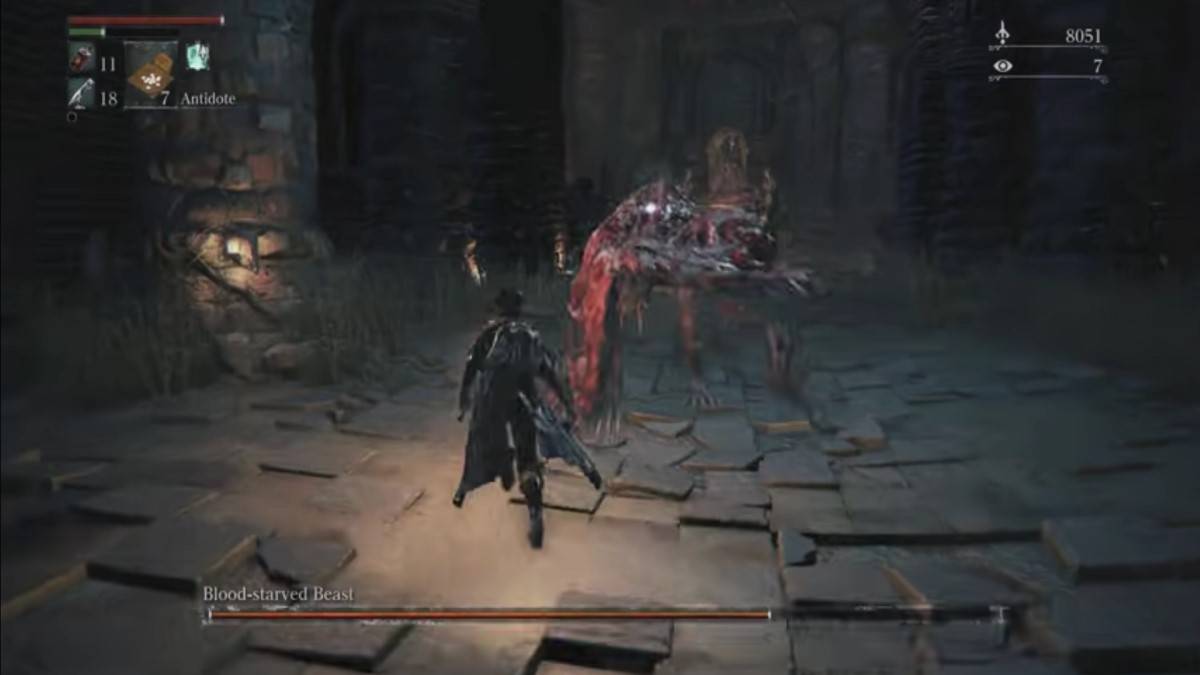 Image via FromSoftware
Area: Old Yharnam
Found in Old Yharnam’s Church of the Good Chalice, the Blood-Starved Beast is a formidable foe with high damage output and substantial health. Keeping your distance and using fire or explosive weapons can simplify this battle significantly.
Vicar Amelia
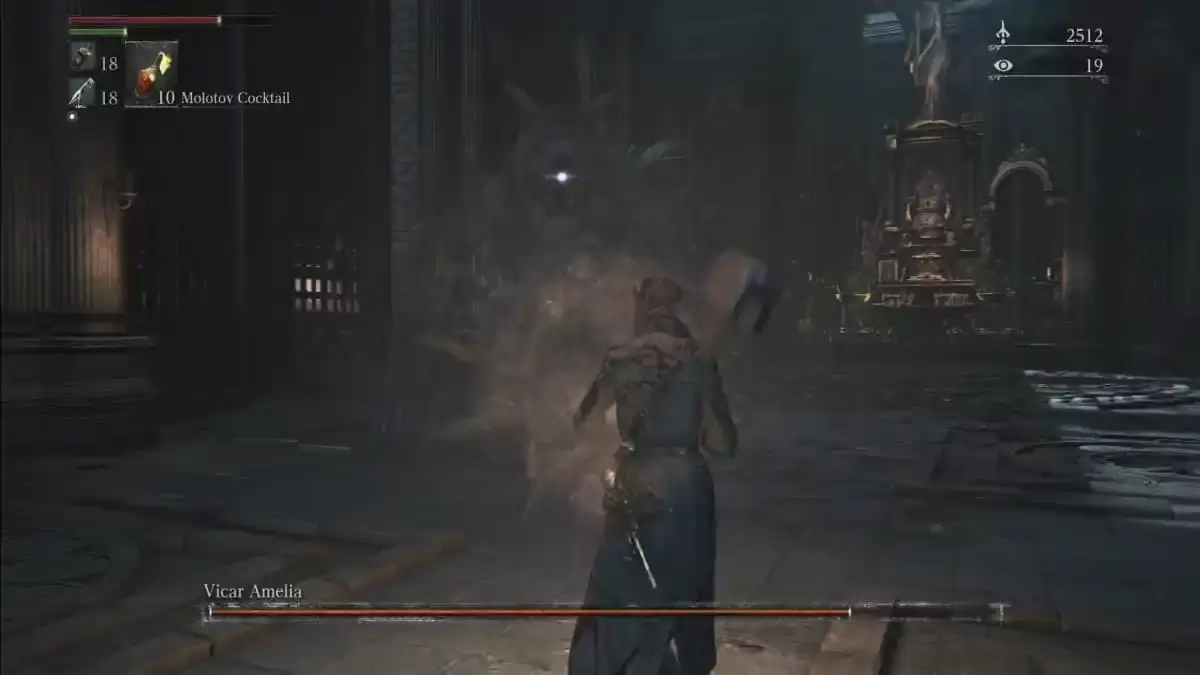 Image via FromSoftware
Area: Cathedral Ward
Vicar Amelia, a massive beast in Cathedral Ward, combines melee attacks with a self-healing ability. Her immobility during healing offers a prime opportunity for attack. Be cautious of her glowing body during this phase to avoid being caught off guard.
The Witch of Hemwick (Optional)
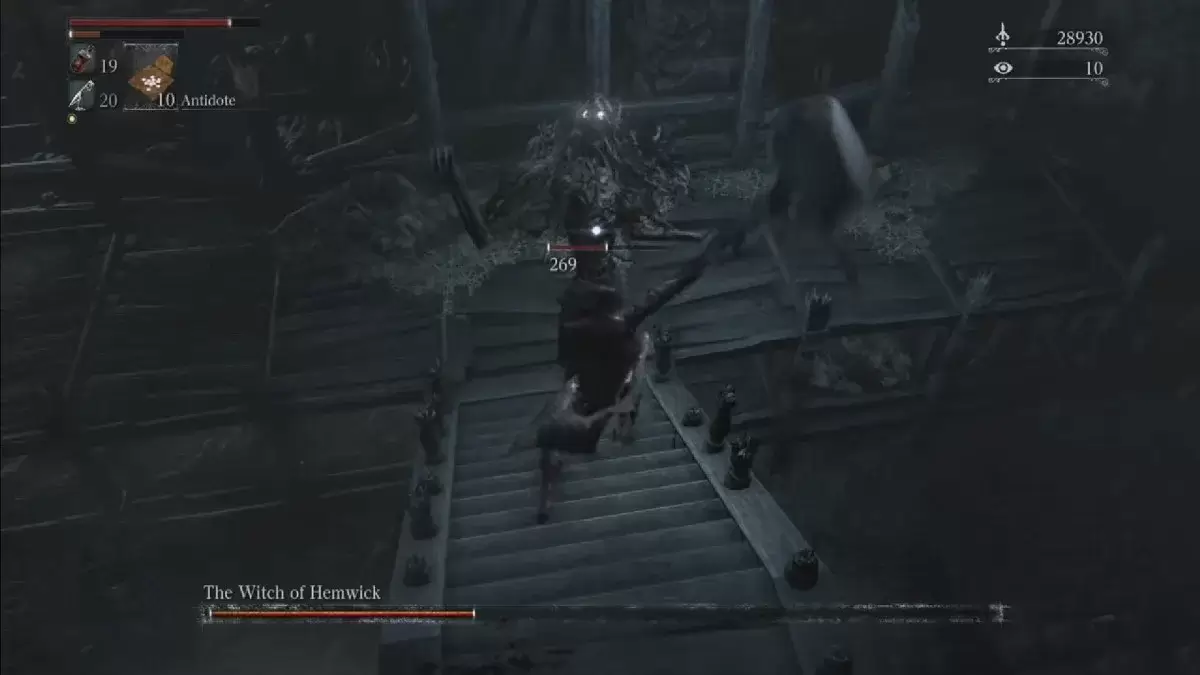 Image via FromSoftware
Area: Hemwick Charnel Lane
The Witch of Hemwick, found in Hemwick Charnel Lane, is accompanied by henchmen and becomes visible only at close range. She often hides in corners, so plan your approach accordingly. Utilizing your firearm effectively can turn the tide in this battle.
Shadow of Yharnam
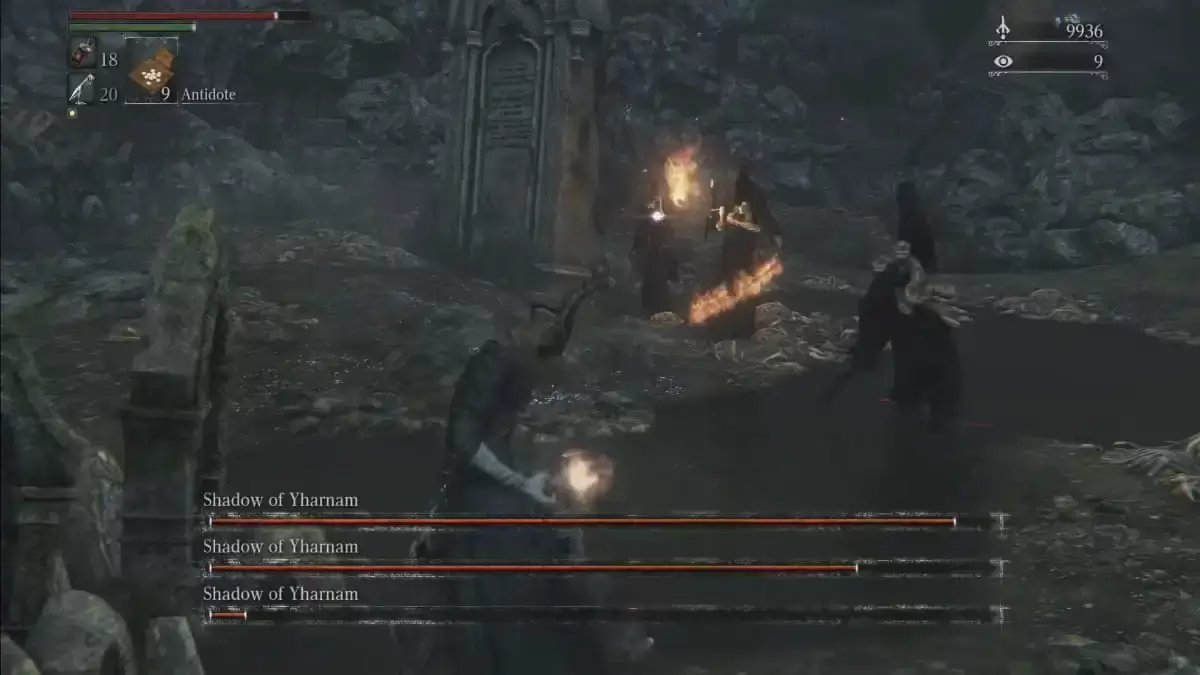 Image via FromSoftware
Area: Forbidden Woods
Located in the Forbidden Woods, the Shadow of Yharnam wields a large club. Dodge its swings to open opportunities for attack, target its head with your gun, and slash at its legs to cause it to fall, exposing its vulnerable underbelly.
Rom, the Vacuous Spider
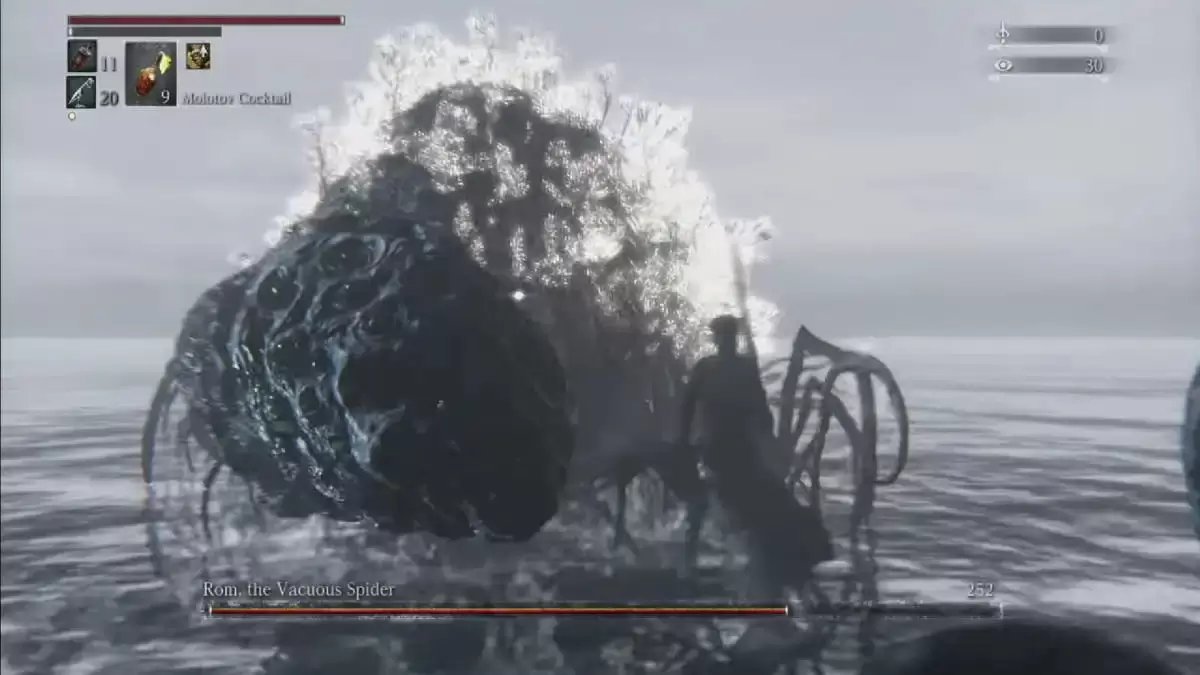 Image via FromSoftware
Area: Moonside Lake
Rom resides in Moonside Lake at Byrgenwerth. Be wary of his poisonous and powerful physical attacks, and quickly dispatch the spiders he summons to focus your damage on him. Note that defeating Rom will alter the game world, potentially locking you out of certain content if not previously explored.
Darkbeast Paarl (Optional)
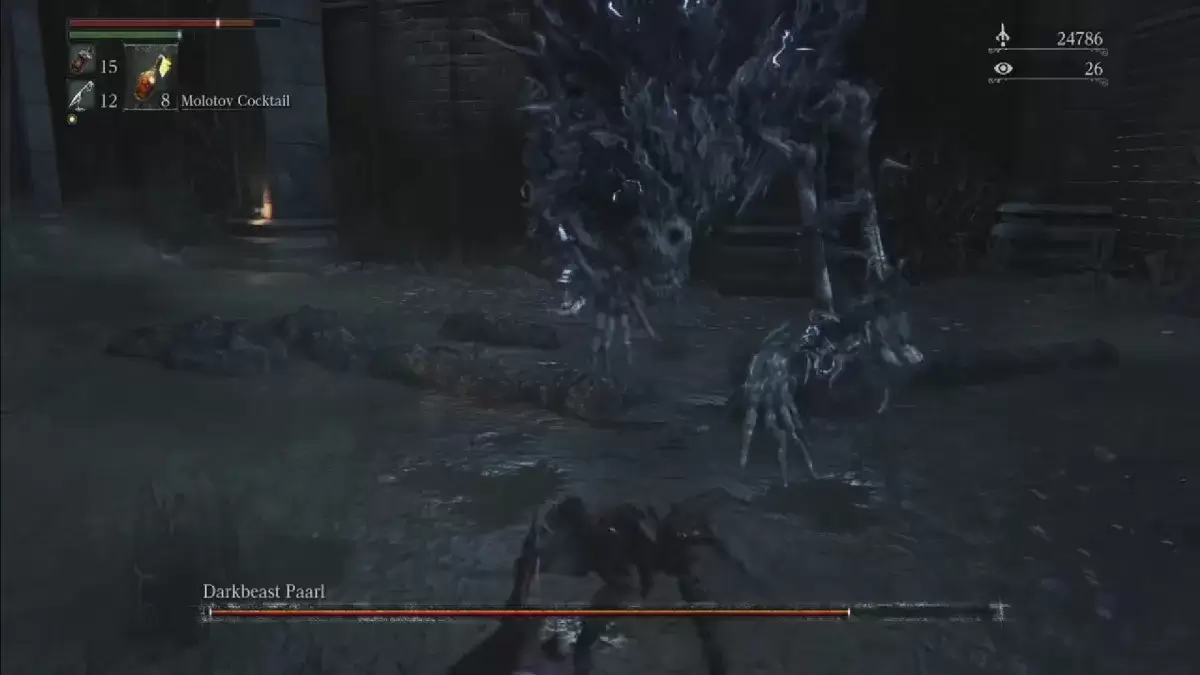 Image via FromSoftware
Area: Hypogean Gaol
Darkbeast Paarl, a hulking creature in Yahar’gul, the Unseen Village, is best approached after defeating Rom. Its brute force and electric attacks require careful timing and positioning to overcome.
The One Reborn
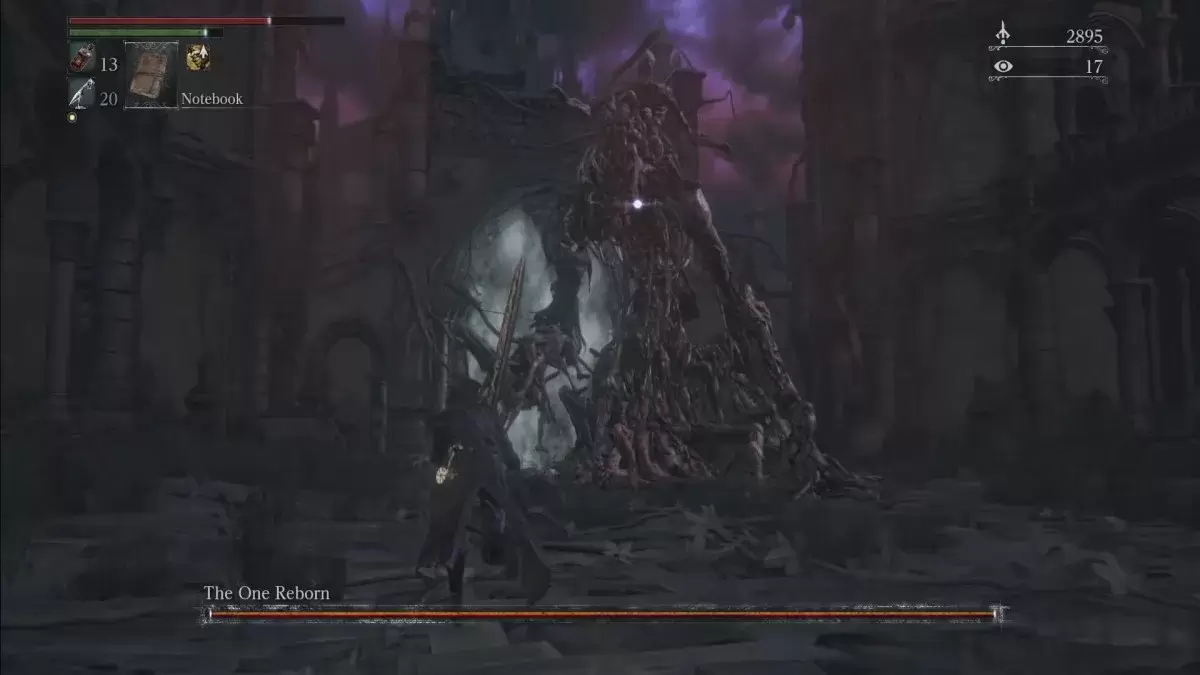 Image via FromSoftware
Area: Yahar’gul Unseen Village
The One Reborn in Yahar’gul Unseen Village uses both physical and magical attacks. Maintain distance, dodge when it raises its arms, and quickly eliminate summoned minions before focusing on the main target.
Martyr Logarius (Optional)
 Image via FromSoftware
Area: Forsaken Castle Cainhurst
Martyr Logarius in Forsaken Castle Cainhurst is a challenging boss with Arcane damage capabilities. Mastering parry timing is crucial to dealing significant damage and overcoming his aggressive tactics.
Amygdala (Optional)
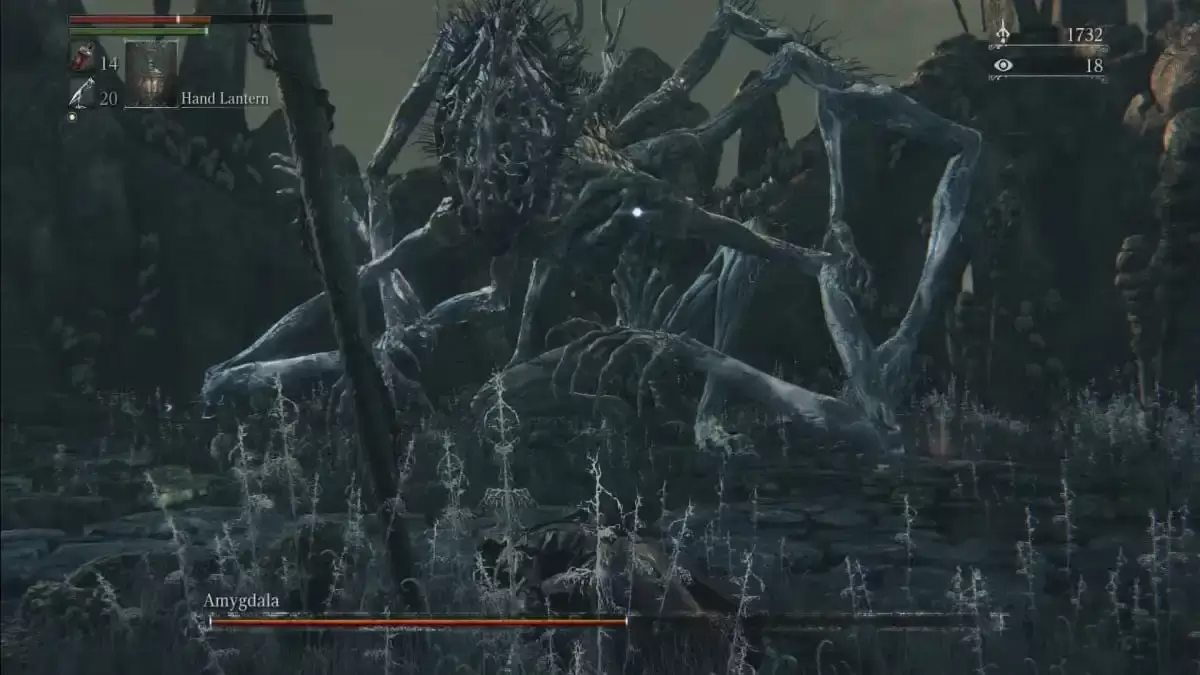 Image via FromSoftware
Area: Nightmare Frontier
Amygdala, a giant tentacled creature in the Nightmare Frontier, is formidable due to its size and reach. Her various attacks can quickly deplete your health, making this one of the game's more intense encounters.
Celestial Emissary (Optional)
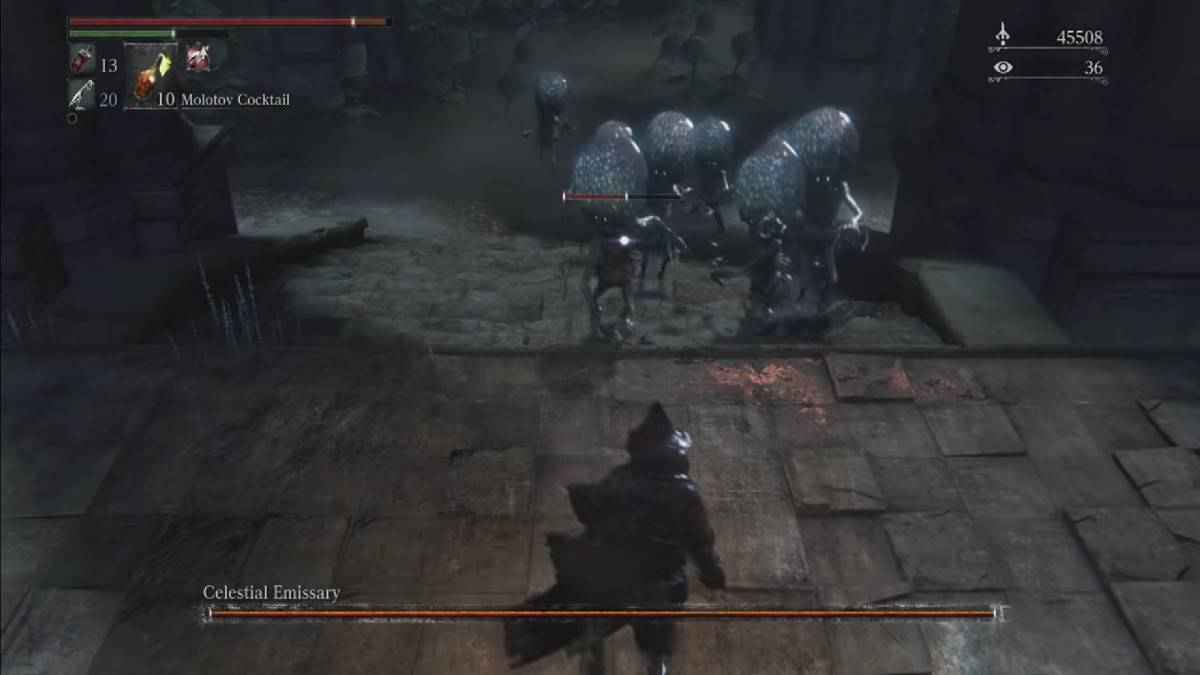 Image via FromSoftware
Area: Upper Cathedral Ward
The Celestial Emissary in Upper Cathedral Ward moves swiftly and can grab you with its long arms. Roll towards its legs to avoid attacks and counterattack when safe, remaining vigilant even when it's grounded.
Micolash, Host of the Nightmare
 Image via FromSoftware
Area: Nightmare of Mensis
Micolash in the Nightmare of Mensis requires chasing him through his arena, dealing with magical fog and summoned underlings. Once cornered, his potent attacks demand caution, but strategies like using poison knives can simplify the battle.
The Old Hunters Bosses
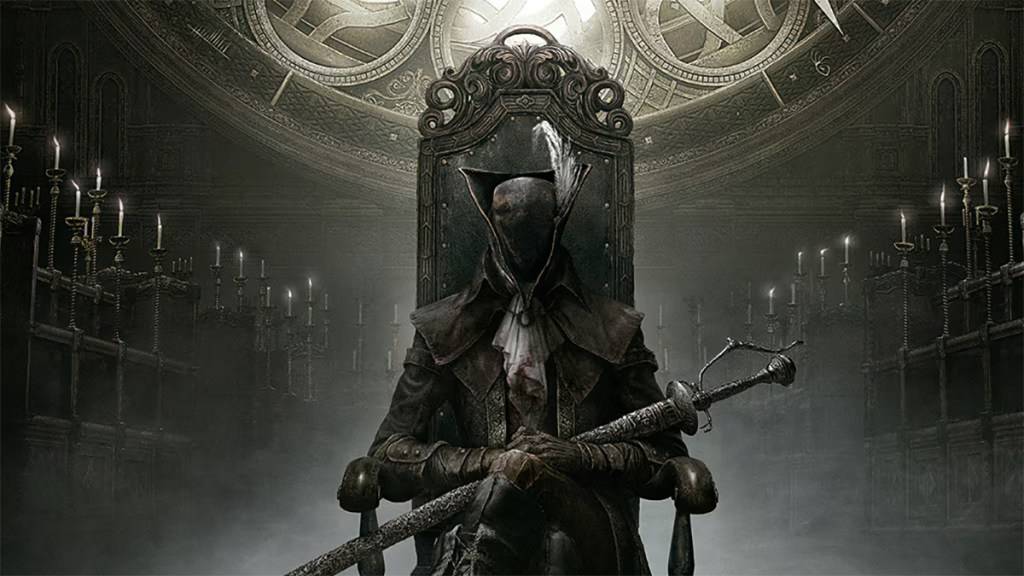 Image via FromSoftware
The *Old Hunters* DLC bosses follow a linear progression. After defeating Ludwig, retrieve Laurence’s Skull to fight Laurence, the only optional boss in the DLC. Then, face the Living Failures, Lady Maria, and the Orphan of Kos, each presenting unique challenges.
Ebrietas, Daughter of the Cosmos (Optional)
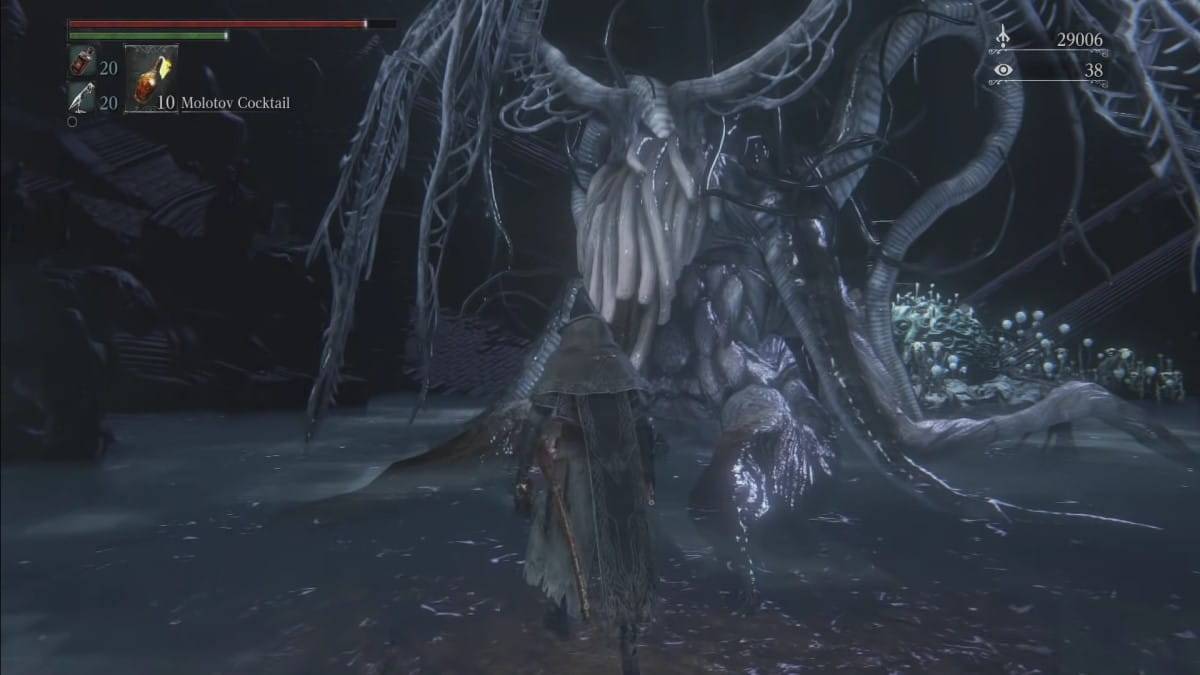 Image via FromSoftware
Area: Altar of Despair
Ebrietas in the Altar of Despair uses tentacles and magical attacks. Be cautious when she slams her head, as it can deal substantial damage.
Mergo’s Wet Nurse
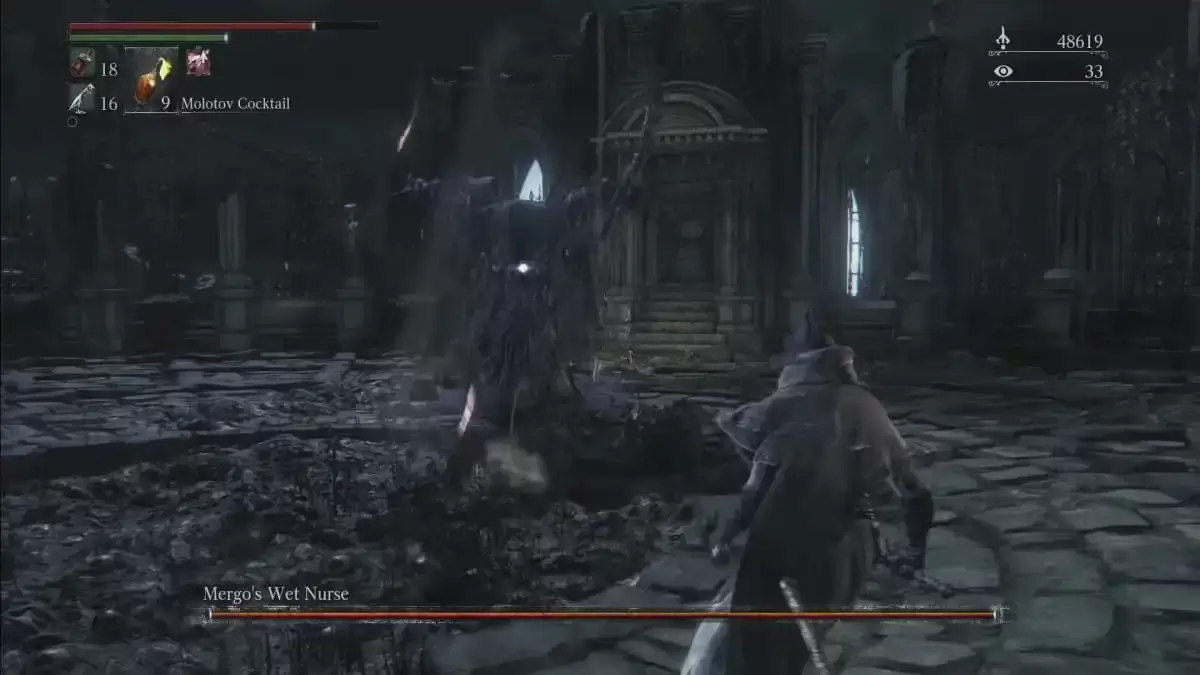 Image via FromSoftware
Area: Nightmare of Mensis
Mergo’s Wet Nurse in the Nightmare of Mensis is challenging but manageable. Her tentacle attacks and fast-moving water projectiles require focus, especially when she uses fog to obscure your vision. After defeating her, ensure you complete any remaining tasks in *Bloodborne*, as you're nearing the game's end.
Gehrman, the First Hunter
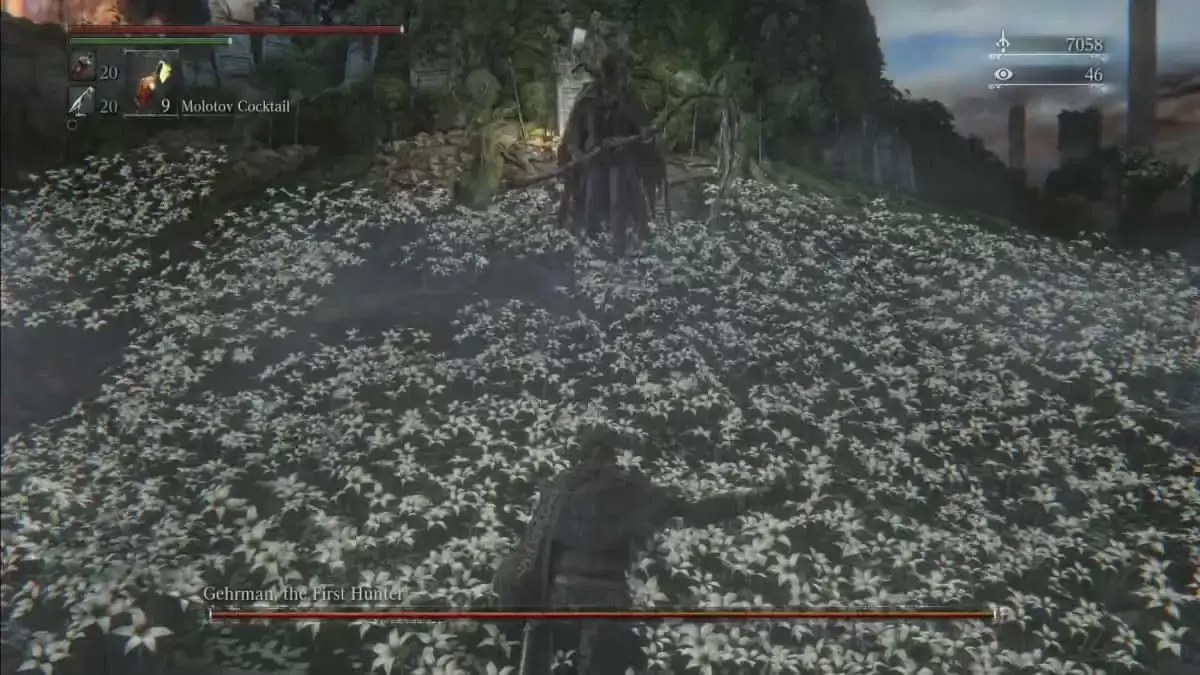 Image via FromSoftware
Area: Hunter’s Dream
Gehrman in Hunter’s Dream is the last non-optional boss before the game's conclusion. His use of a scythe and firearms can be tough, but with good parry timing, you can overcome him efficiently.
Moon Presence (Ending Specific)
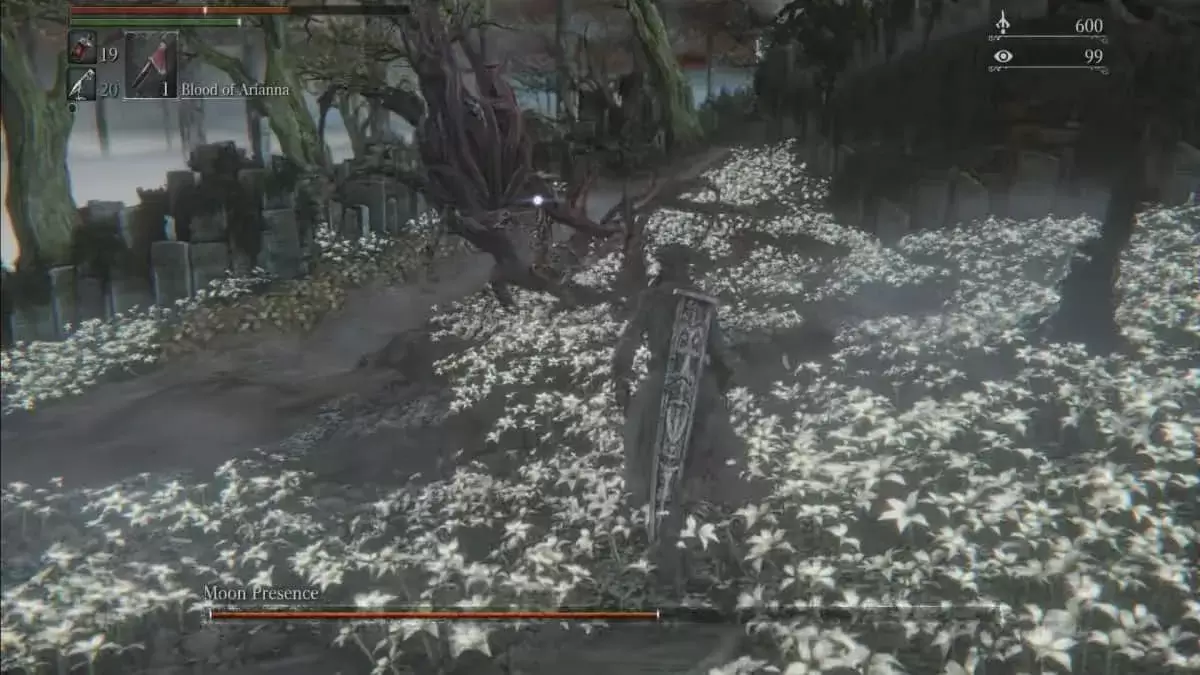 Image via FromSoftware
Area: Hunter’s Dream
To face the Moon Presence, the true final boss, you must collect three of the four One Third of Umbilical Cords and use them before fighting Gehrman. Sources include Mergo’s Wet Nurse, the Abandoned Workshop, the Arianna questline, and Iosefka after defeating Rom. Refuse Gehrman’s offer to confront the Moon Presence, whose attacks with tails, claws, and orbs of darkness are formidable but manageable with the skills you've honed throughout the game.
And that's the optimal boss order for *Bloodborne*! For more *Bloodborne* news, check out *Bloodborne PSX*, a brutal fan-made PS1 demake. For more FromSoftware content, explore *Armored Core VI*.
Related: *How to Access the Hunter’s Nightmare for Bloodborne DLC on Attack of the Fanboy*
Update: This article was updated on 2/3/2025 by Escapist Editorial to include more information about the various bosses, provide a high-level summary of the boss order, and to include the bosses from the Old Hunters DLC.
-
The 65\" Samsung 4K OLED Smart TV Drops to a New Price Low During Best Buy's Early Black Friday SaleThe Samsung S84/S85 TVs deliver all the benefits of OLED technology, making them among the top choices for gamers—yet at a significantly lower price than other OLED models. As part of its early Black Friday promotion, Best Buy is offering the 2025 65Author : Hunter Apr 28,2026
-
Quick LinksWhere to Get a Double Bed in My Time at Sandrock Customizing the Yakboy Double Bed Additional Double Bed Options In My Time At Sandrock, you’ll discover a vibrant world to explore, forge friendships, and even find love. If you’re readyAuthor : Nathan Apr 28,2026
-
 Wedding Fashion Makeup DressupDownload
 -
 Banana Trainer Vol.2Download
 -
 Idle Workout Master: MMA heroDownload
 -
 Monster Girl 1000Download
 -
 3001: A MILF OdysseyDownload
 -
 Hail To The KingDownload
 -
 Super Jogo da SaúdeDownload
 -
 Suspended Sex Simulator~Bound Mama and the Four GoblinsDownload
 -
 GaduatedDownload
 -
 Hunte: Space PiatesDownload
- Black Ops 6 Zombies: How To Configure The Summoning Circle Rings on Citadelle Des Morts
- Roblox: Latest DOORS Codes Released!
- Harvest Moon: Lost Valley DLC and Preorder Details Revealed
- Silent Hill 2 Remake Coming to Xbox and Switch in 2025
- Roblox: Blox Fruits Codes (January 2025)
- Roblox: Freeze for UGC Codes (January 2025)






![Taffy Tales [v1.07.3a]](https://imgs.ehr99.com/uploads/32/1719554710667e529623764.jpg)


