All Monsters in Pressure And How to Survive Them – Roblox
In the thrilling world of Roblox *Pressure*, mastering the art of survival against various monsters is key to successfully navigating through all rooms. Each monster presents unique challenges, but with the right strategies, you can perfect your runs. Here's a comprehensive guide on **all monsters in *Pressure* and how to survive them**.
How to Survive All Monsters in Pressure
Below, you'll find detailed strategies on **how to beat all monsters in *Pressure***. These creatures can be random encounters, Node monsters with specific paths, or area-specific like the DiVine in Oxygen Gardens. I'll walk you through the specific methods to deal with them and the cues to watch for, ensuring you can hide in time. Remember, **Cleithrophobia** can activate if you hide for too long, forcing you out, so timing is crucial. Listen or watch for the signs of each monster as outlined below.
Pandemonium

Good People

- **Fake Door Cues**: Approach doors closely without opening them to listen for breathing, growling, sparks, or see scanlines on the navi-path sign, indicating Good People's presence.
- **Dark Rooms**: In dark rooms, the navi-path screen for Fake doors stays lit, while real doors remain dark.
- **HQ Message**: If HQ suggests a path without revealing the incorrect one, be vigilant for Fake doors.
Eyefestation

Squiddles

Locker Void-Mass

Wall Dweller

Redeemer and Hanger

Candlebearers & Candlebrutes

The Angler

Pinkie
Similar to The Angler, Pinkie doesn't give a light flicker warning but instead makes a screeching sound as she approaches. Hide in a locker when you hear it, as she only spawns in rooms with valid hiding spots.
Froger
Froger mirrors The Angler with flickering lights and a screech. Hide in a locker upon these cues. Unlike others, Froger rebounds back along the same path, so be ready to hide again.
Chainsmoker
Chainsmoker signals its arrival with flickering lights and the sound of rattling chains. It emits green smoke that forces you out of lockers, so hide when your screen starts shaking, indicating its imminent arrival. It's one of the slower monsters.
Blitz
Blitz is the fastest of the node monsters, appearing in rooms with hiding spots. You'll hear screeching and a loud roar just before it enters, which is your cue to hide quickly.
Bottomfeeder

The DiVine

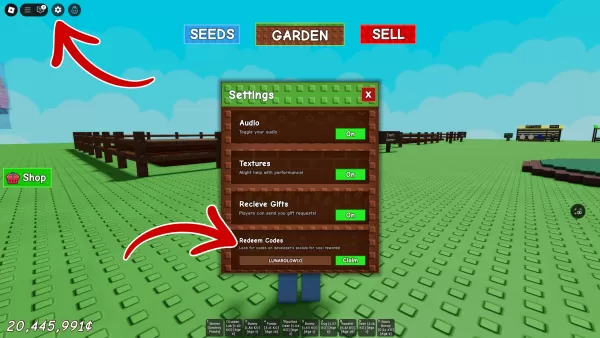
**That's it for my guide on all monsters in *Pressure* Roblox and how to survive them. Don't forget to check out our *Pressure* codes for free goodies.**
-
 A Brazilian court has ordered Apple to implement sideloading capabilities within 90 days, marking another significant challenge to the company's closed ecosystem. This follows similar regulatory actions Apple has faced internationally, despite the coAuthor : Sarah May 19,2026
 -
 Squido Studio has brought No More Rainbows and Flappy XR to Android XR. Even more thrilling is that both titles feature comprehensive hand-tracking support, providing a controller-free experience as you move, jump, and flap through vibrant challengesAuthor : Ellie May 15,2026
-
 Prisoner SolitaireDownload
 -
 Gabbys DollHouse Tiles HopDownload
 -
 School Makeup SalonDownload
 -
 Shopping Mall 3D ModDownload
 -
 Bitcoin Slots and Casino gamesDownload
 -
 Binary Bet GameDownload
 -
 FairCasino - Offical SlotsDownload
 -
 ดัมมี่ คาสิโนไทยDownload
 -
 Casino Walking Zombie Slots MachineDownload
 -
 Dice AppDownload


![Taffy Tales [v1.07.3a]](https://imgs.ehr99.com/uploads/32/1719554710667e529623764.jpg)


- Black Ops 6 Zombies: How To Configure The Summoning Circle Rings on Citadelle Des Morts
- Roblox: Latest DOORS Codes Released!
- Harvest Moon: Lost Valley DLC and Preorder Details Revealed
- Silent Hill 2 Remake Coming to Xbox and Switch in 2025
- Lucky Vouchers in Monster Hunter Wilds: How to Get and Use
- Roblox: Blox Fruits Codes (January 2025)