Asus ROG Ally: How to Connect to TV or Monitor
The ROG Ally made a strong entrance in 2023 as a powerful alternative to the Steam Deck, giving players access to a wider library of games thanks to its Windows operating system. In 2024, ASUS released the ROG Ally X, which not only upgraded internal hardware but also improved comfort and cooling for longer gaming sessions.
While the ROG Ally shines as a portable device, it's also great for relaxing on the couch and playing on a TV or gaming monitor. Fortunately, both ROG Ally models support external displays, letting you enjoy your favorite games on a bigger screen. Read on to learn how to connect your ROG Ally to a TV or monitor, complete with step-by-step instructions and product suggestions.
How to Connect With an Adapter
There are several ways to hook up your ROG Ally to a TV or monitor. Using an adapter is a straightforward and space-saving option. You can choose from compact dongles, direct cables, or the official ROG Gaming Charger Dock—each offering a reliable connection.
What You'll Need
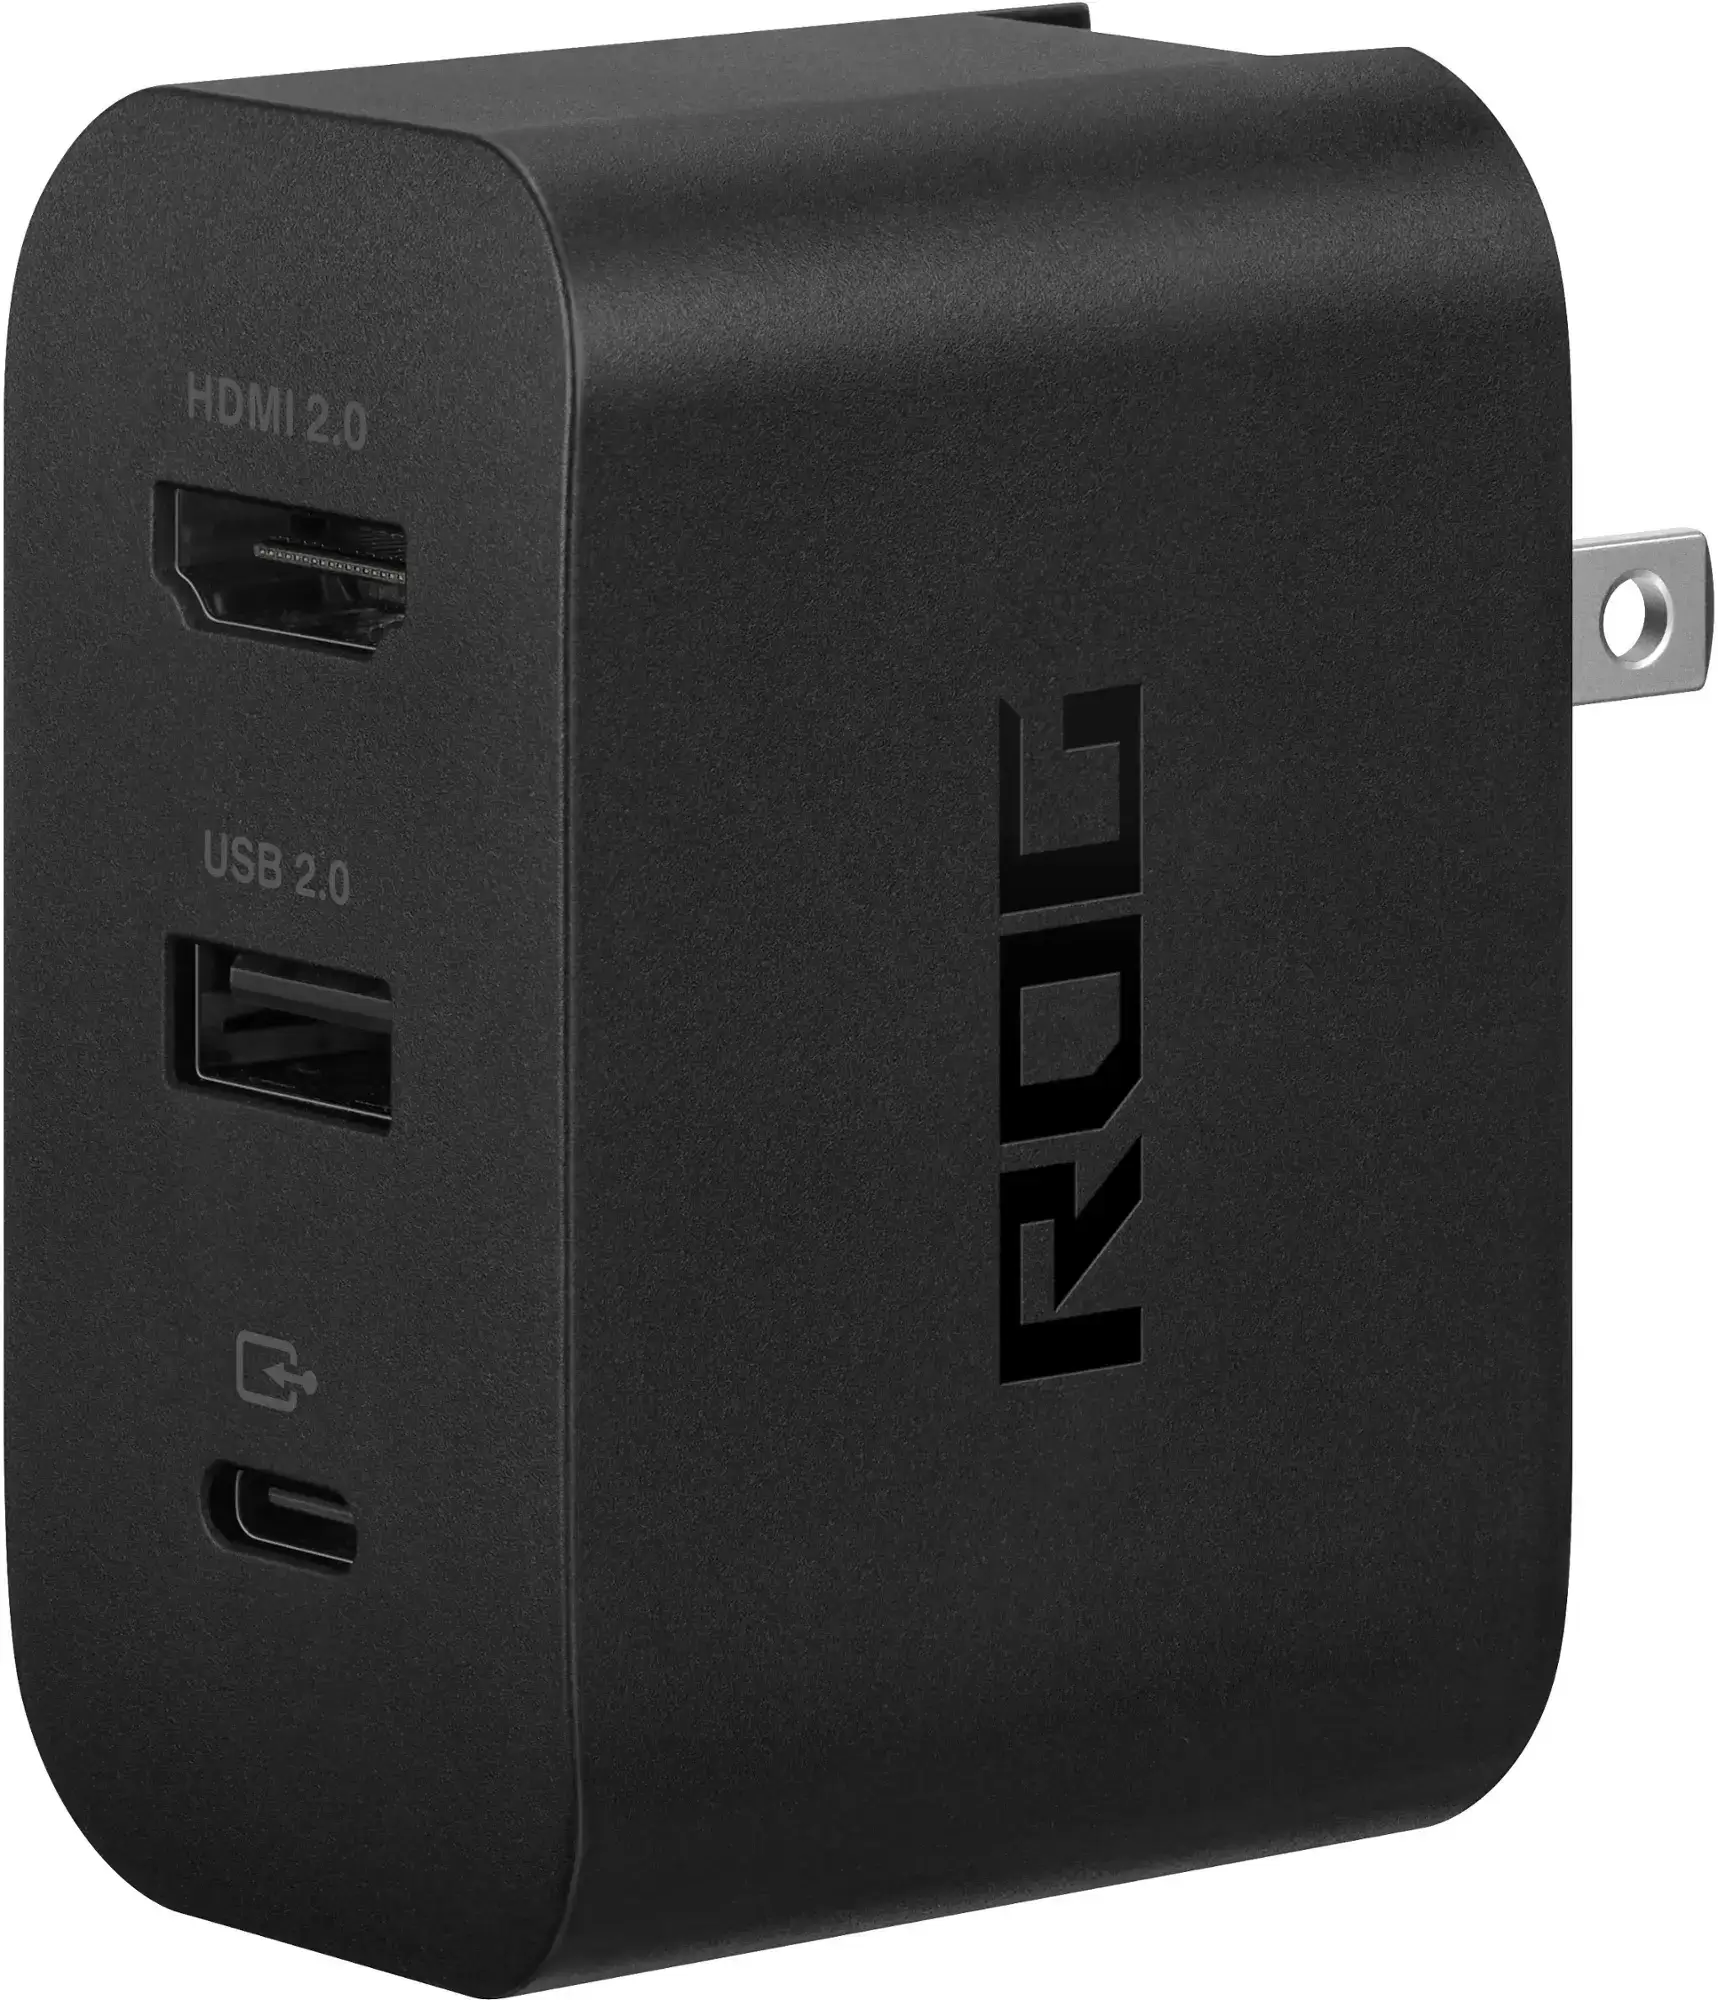
ASUS ROG 65W Charger Dock
0Supports HDMI 2.0 with USB Type-A and USB Type-C for ROG Ally.See it at Best Buy
ASUS has designed the ROG Ally for easy TV connectivity. The official ROG Gaming Charger Dock is an excellent choice—it's compact and also charges your device. Just connect a USB-C and HDMI cable, and you're ready to play. The dock also includes a USB-A port for connecting accessories like a mouse or keyboard.
If you choose a third-party USB-C to HDMI adapter, plug it directly into the ROG Ally’s USB-C port, then connect an HDMI cable between the adapter and your TV or monitor. For an even simpler setup, a USB-C to HDMI cable links your ROG Ally directly to the display without extra components.
Note that many USB-C to HDMI adapters include a passthrough USB-C port for power. If yours has this feature, use a USB-C cable and the original power adapter to keep your ROG Ally charged during gameplay.
How to Connect: Step-by-Step Instructions
Plug a USB-C to HDMI adapter or cable into the ROG Ally’s top USB-C port. If using the ROG Gaming Charger Dock, connect a USB-C cable from the Ally to the dock’s USB-C charging port.Connect an HDMI cable from the adapter (or dock) to an available HDMI port on your TV or monitor. For a direct USB-C to HDMI cable, plug the HDMI end directly into the display.If your adapter includes a USB-C passthrough charging port, connect the ROG Ally power adapter to keep the device powered.Turn on the ROG Ally—it should automatically detect and send video to the display.Switch your TV or monitor to the correct HDMI input to view the ROG Ally’s screen.
How to Connect With a Docking Station
For a setup similar to the Nintendo Switch, consider a docking station. Though ASUS doesn’t offer a dedicated dock (aside from the Charger Dock, which acts more like an adapter), many third-party options are available. Docks let you place the ROG Ally in a stand while connecting to a TV or monitor and charging simultaneously.
What You'll Need
Our Top Pick
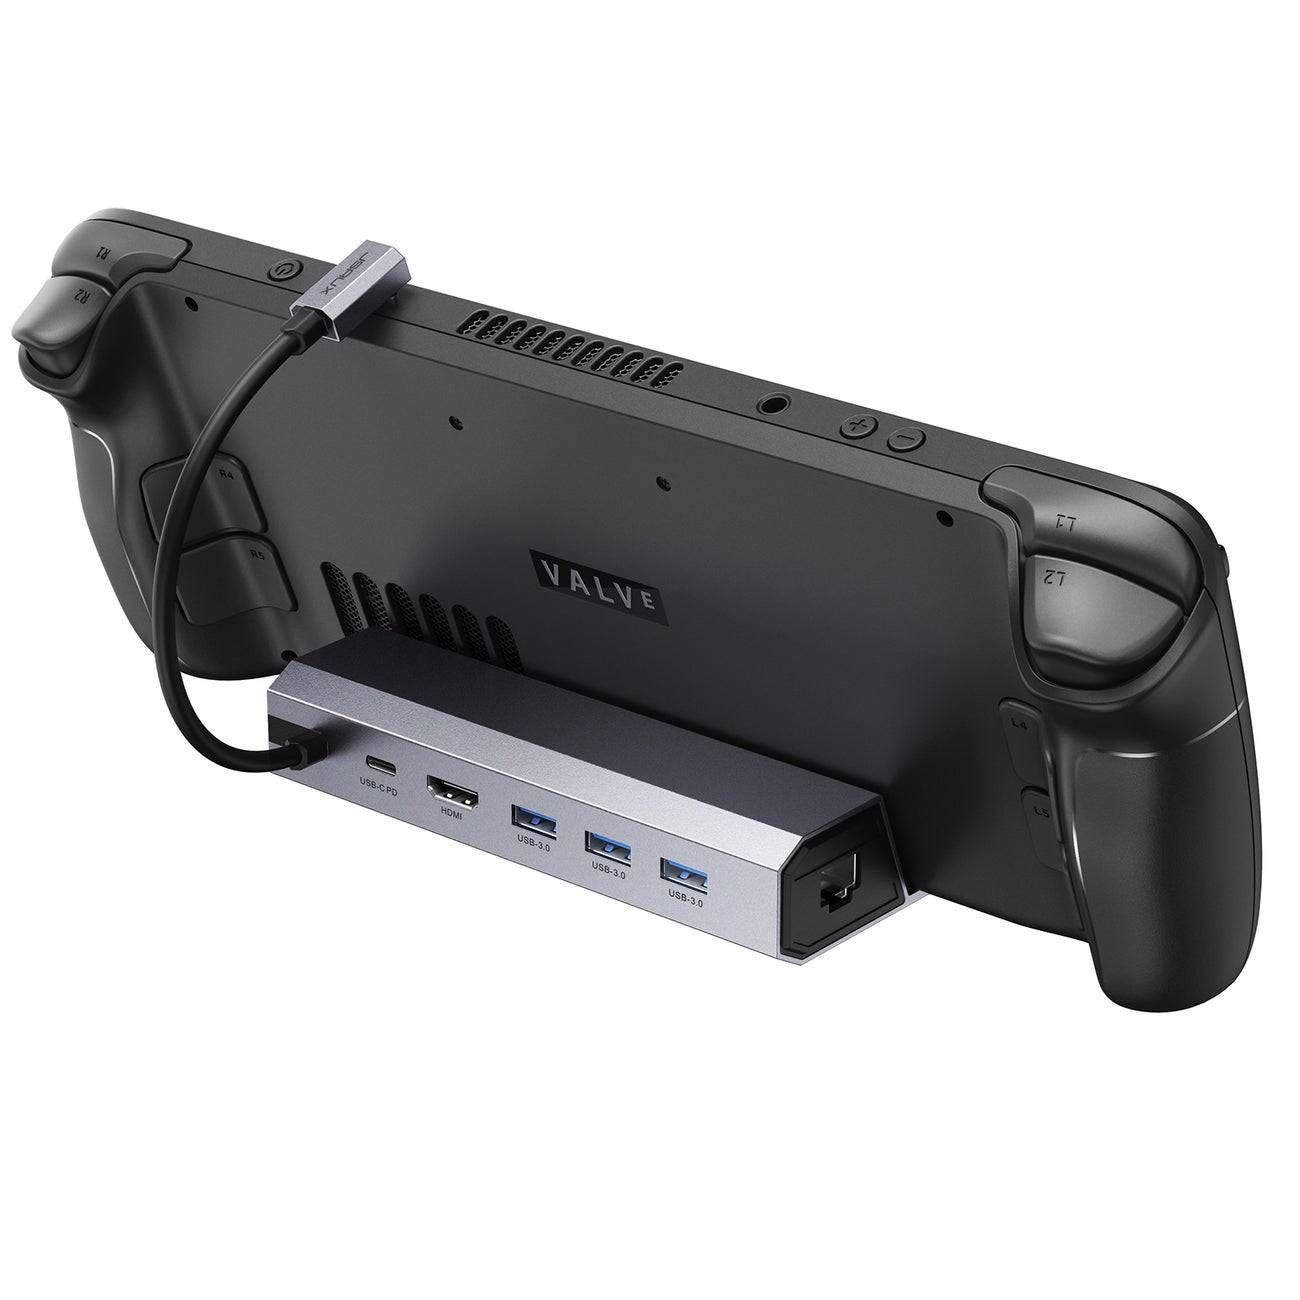
JSAUX Docking Station HB0603
2100 watts of power for fast charging and tons of ports come with this lightweight, compact dock that also serves as a stand.See it at Amazon
Basic ROG Ally docks usually include an HDMI port and a USB-C passthrough for charging. For more connectivity, advanced models offer extra USB ports for peripherals like mice, keyboards, and external drives, Ethernet for stable internet, SD card slots for storage expansion, and even DisplayPort for an additional monitor. Compact, travel-friendly docks make it easy to connect your ROG Ally to larger screens wherever you go. Many Steam Deck-compatible docks also work with the ROG Ally.
How to Connect: Step-by-Step Instructions
Place the ROG Ally into the dock.Connect the USB-C power cable to the ROG Ally’s top USB-C port.Plug the ROG Ally power adapter into the dock’s USB-C charging port.Connect an HDMI cable from the dock to an open HDMI port on your TV or monitor.Turn on the ROG Ally—it should automatically output the video signal.Select the corresponding HDMI input on your TV or monitor to see the ROG Ally’s display.
You'll Also Need a Controller
Although you can connect a mouse and keyboard to your ROG Ally dock, playing on a big screen is often more comfortable with a wireless controller. The ROG Ally supports most Bluetooth-enabled controllers. Below are some of our top picks for Steam Deck controllers, which are also fully compatible with the ROG Ally.
 Our Top Pick
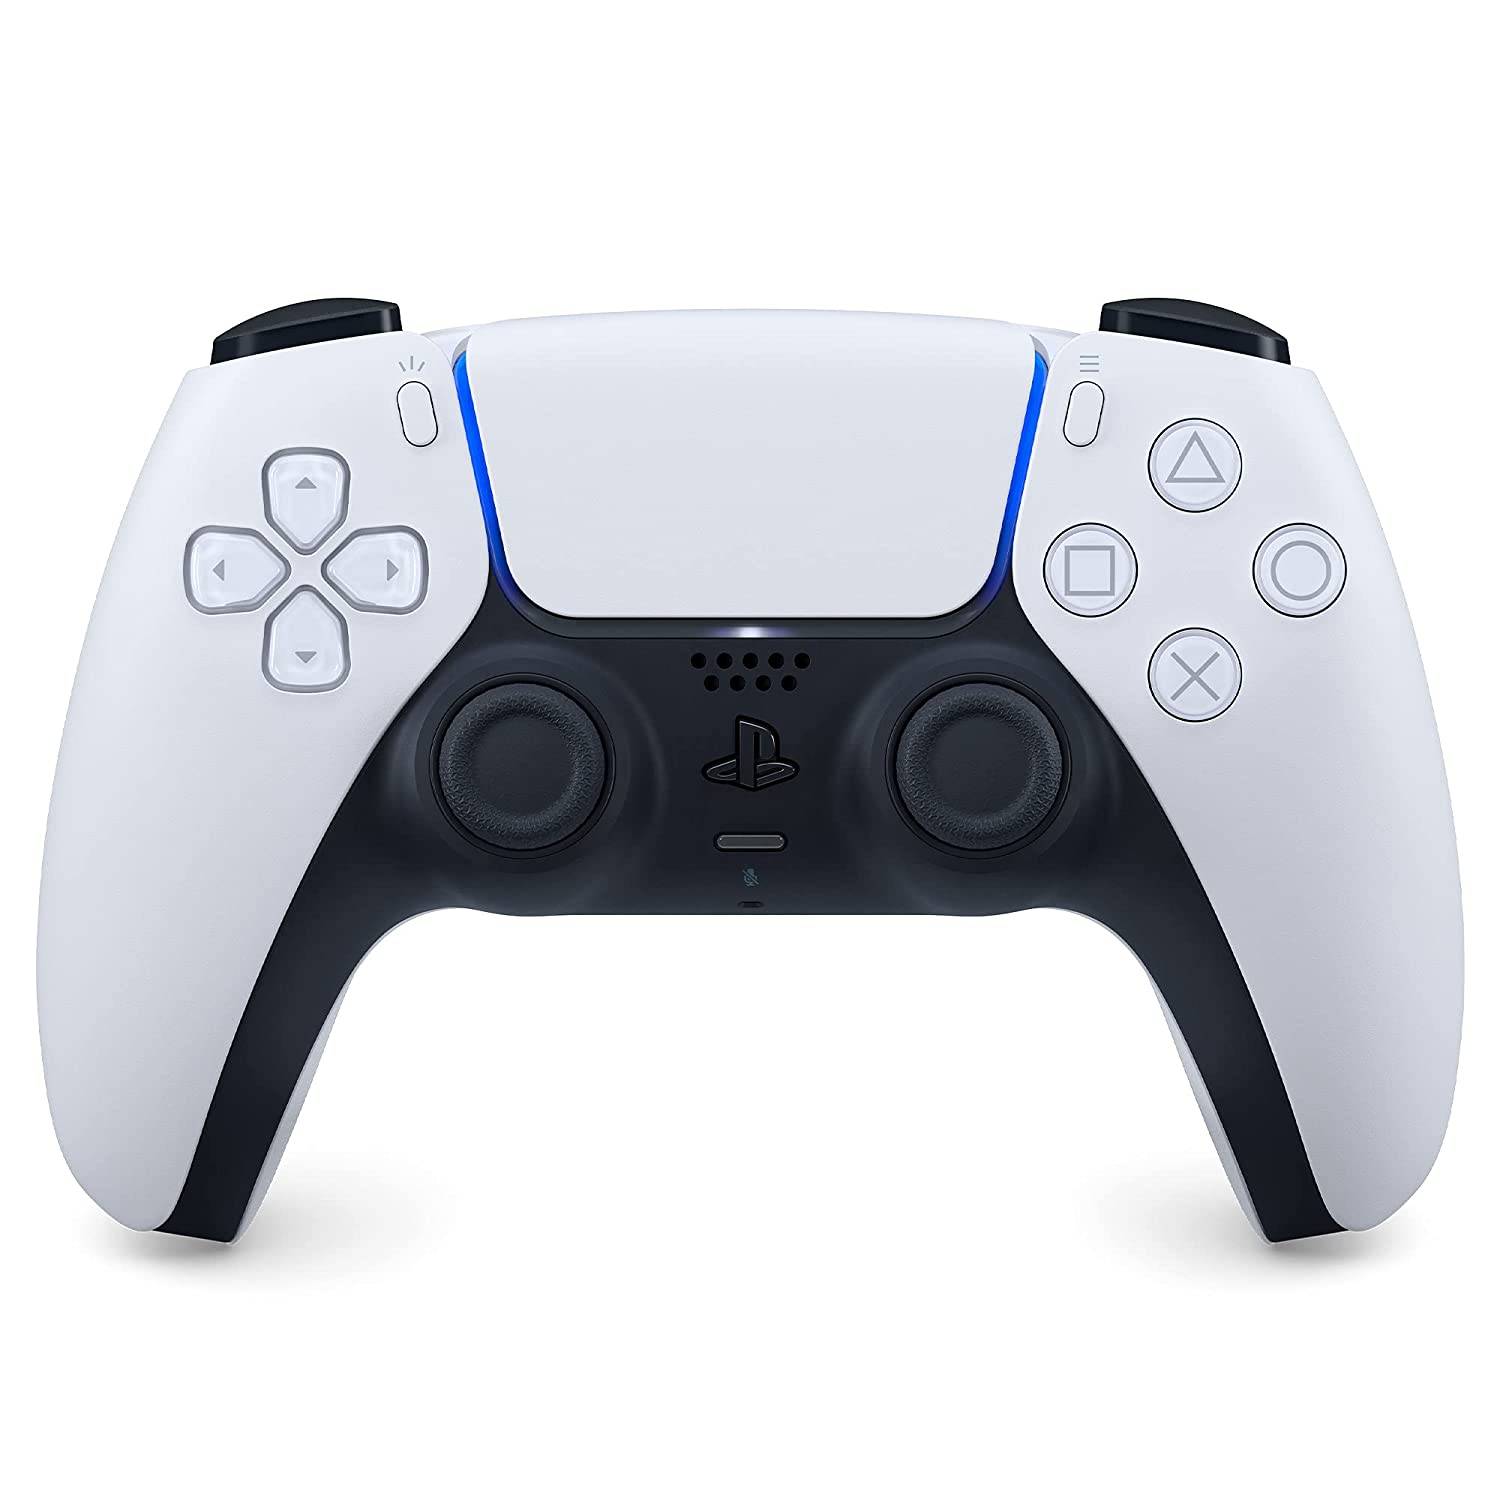
Sony DualSense
1See it at AmazonSee it at Best BuySee it at Target
Xbox Elite Series 2 Controller
4See it at AmazonSee it at Best Buy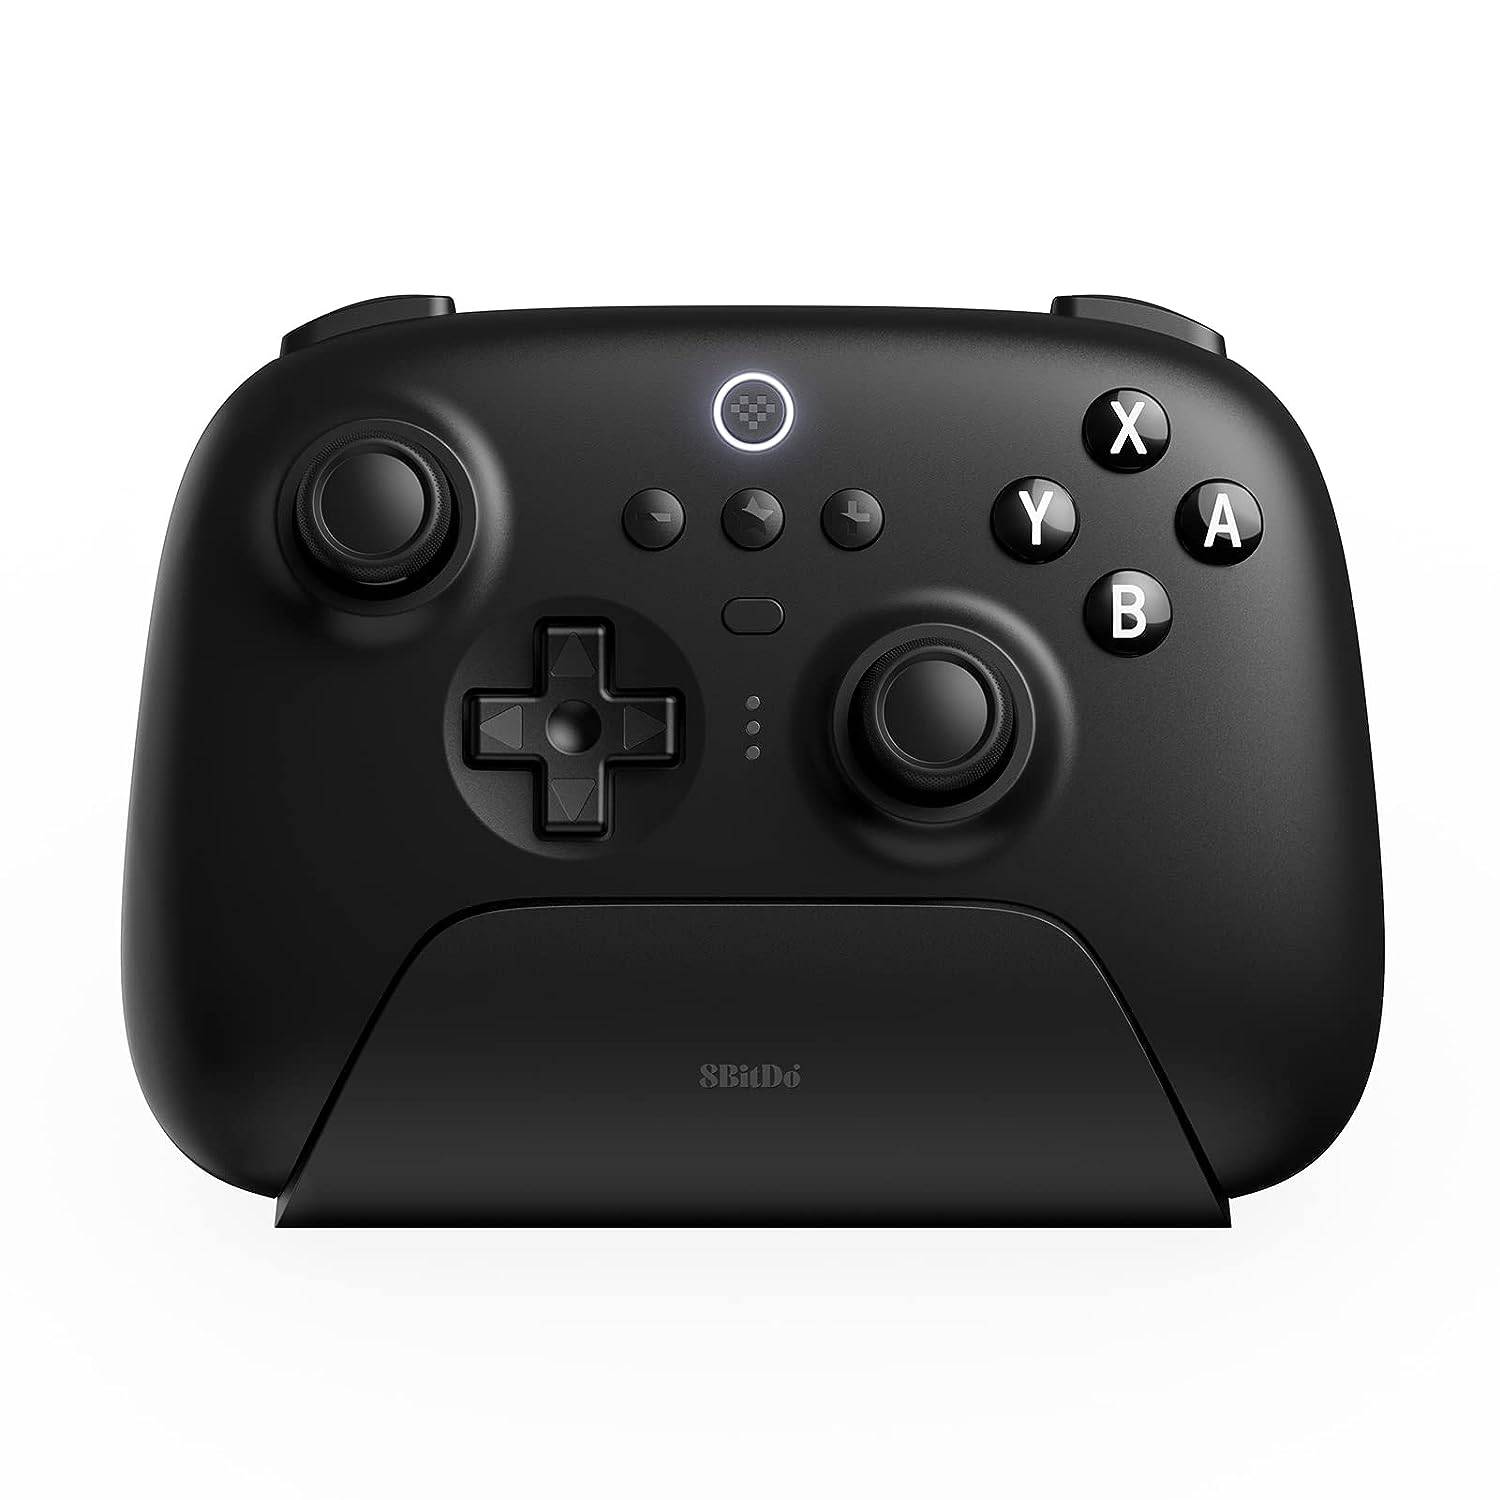
8BitDo Ultimate Controller
0See it at Amazon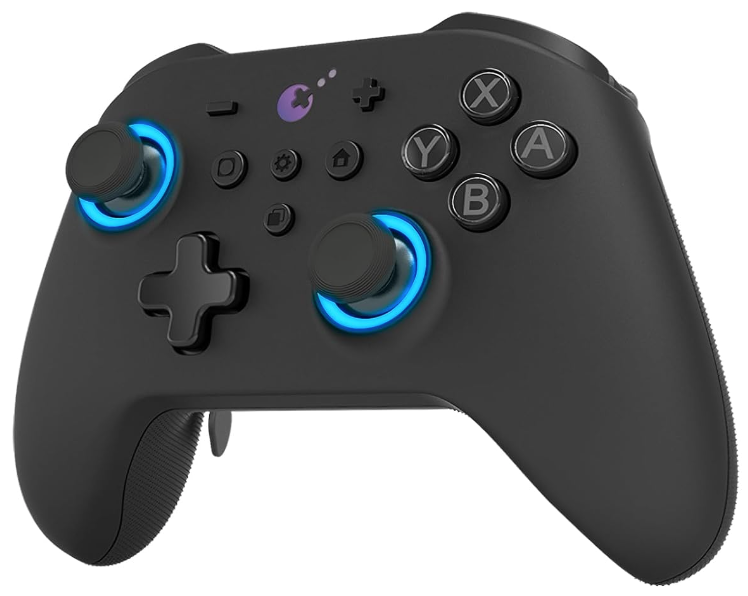
GuliKit KingKong 3 Max Controller
1See it at Amazon
PowerA Wireless GameCube Style Controller
2See it at AmazonThis includes first-party controllers like the PS5 DualSense, Xbox Wireless Controller, or Nintendo Switch Pro Controller, as well as many third-party alternatives. Some controllers use a 2.4GHz wireless connection with a USB dongle, which often delivers lower latency and better range than standard Bluetooth. You can also use a wired USB controller if you're sitting near the ROG Ally or dock for a simple plug-and-play setup.
-
 The 65\" Samsung 4K OLED Smart TV Drops to a New Price Low During Best Buy's Early Black Friday SaleThe Samsung S84/S85 TVs deliver all the benefits of OLED technology, making them among the top choices for gamers—yet at a significantly lower price than other OLED models. As part of its early Black Friday promotion, Best Buy is offering the 2025 65Author : Hunter Apr 28,2026
 -
 Quick LinksWhere to Get a Double Bed in My Time at Sandrock Customizing the Yakboy Double Bed Additional Double Bed Options In My Time At Sandrock, you’ll discover a vibrant world to explore, forge friendships, and even find love. If you’re readyAuthor : Nathan Apr 28,2026
-
 Wedding Fashion Makeup DressupDownload
 -
 Banana Trainer Vol.2Download
 -
 Idle Workout Master: MMA heroDownload
 -
 Monster Girl 1000Download
 -
 3001: A MILF OdysseyDownload
 -
 Hail To The KingDownload
 -
 Super Jogo da SaúdeDownload
 -
 Suspended Sex Simulator~Bound Mama and the Four GoblinsDownload
 -
 GaduatedDownload
 -
 Hunte: Space PiatesDownload


![Taffy Tales [v1.07.3a]](https://imgs.ehr99.com/uploads/32/1719554710667e529623764.jpg)


- Black Ops 6 Zombies: How To Configure The Summoning Circle Rings on Citadelle Des Morts
- Roblox: Latest DOORS Codes Released!
- Harvest Moon: Lost Valley DLC and Preorder Details Revealed
- Silent Hill 2 Remake Coming to Xbox and Switch in 2025
- Roblox: Blox Fruits Codes (January 2025)
- Roblox: Freeze for UGC Codes (January 2025)